 London's "42nd Street": Come and Meet Those Dancing Feet and the Appalling Sexists Attached to Said Feet...And Peggyby Randi / May 30, 2017
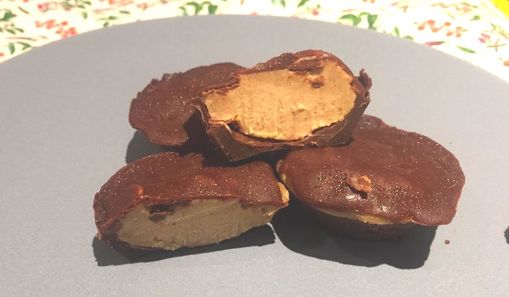
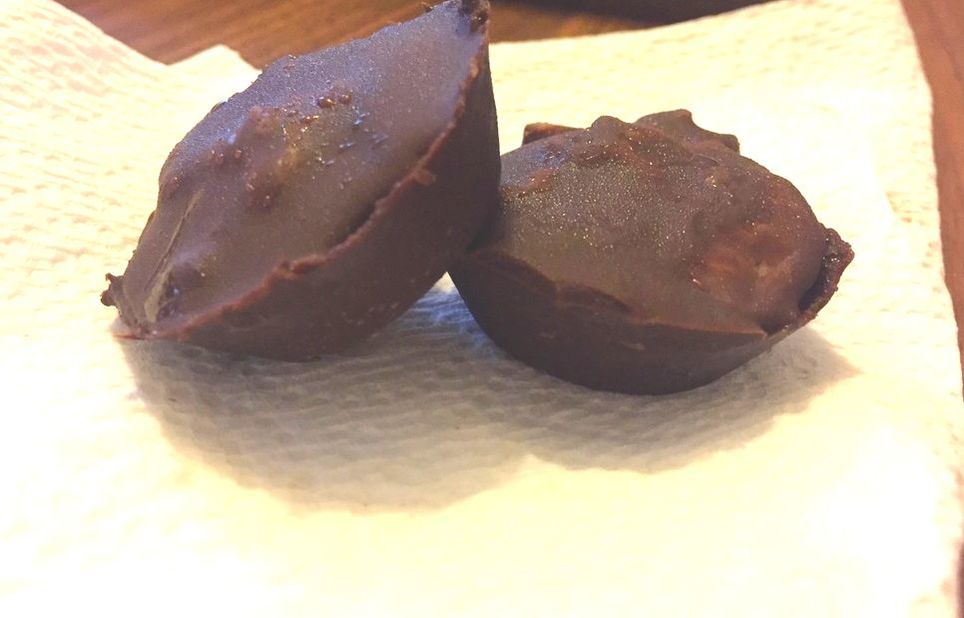
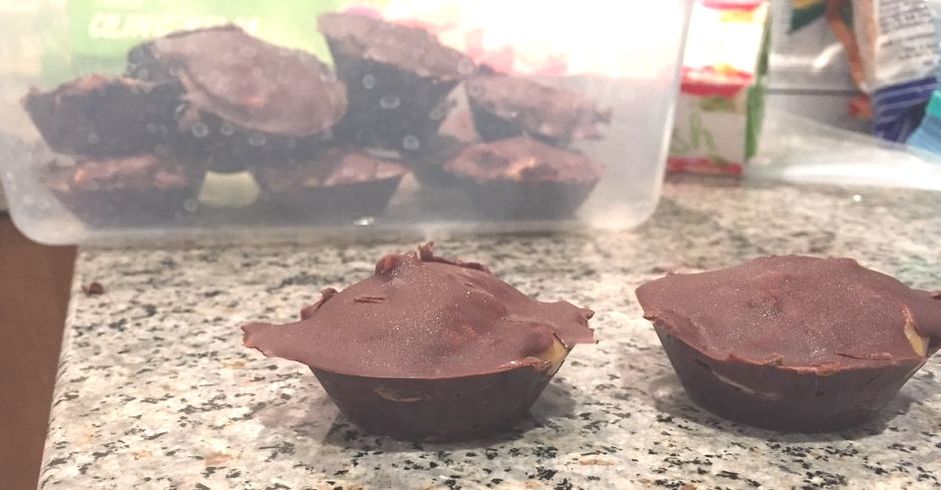
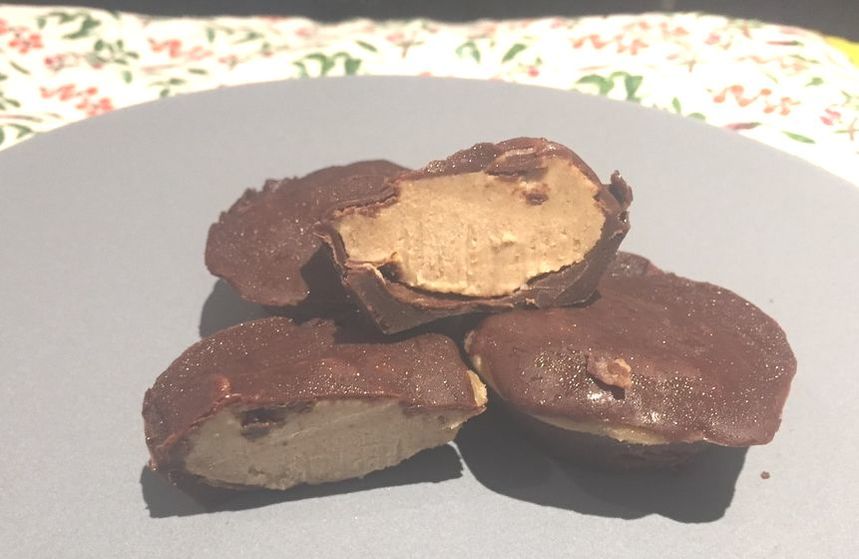
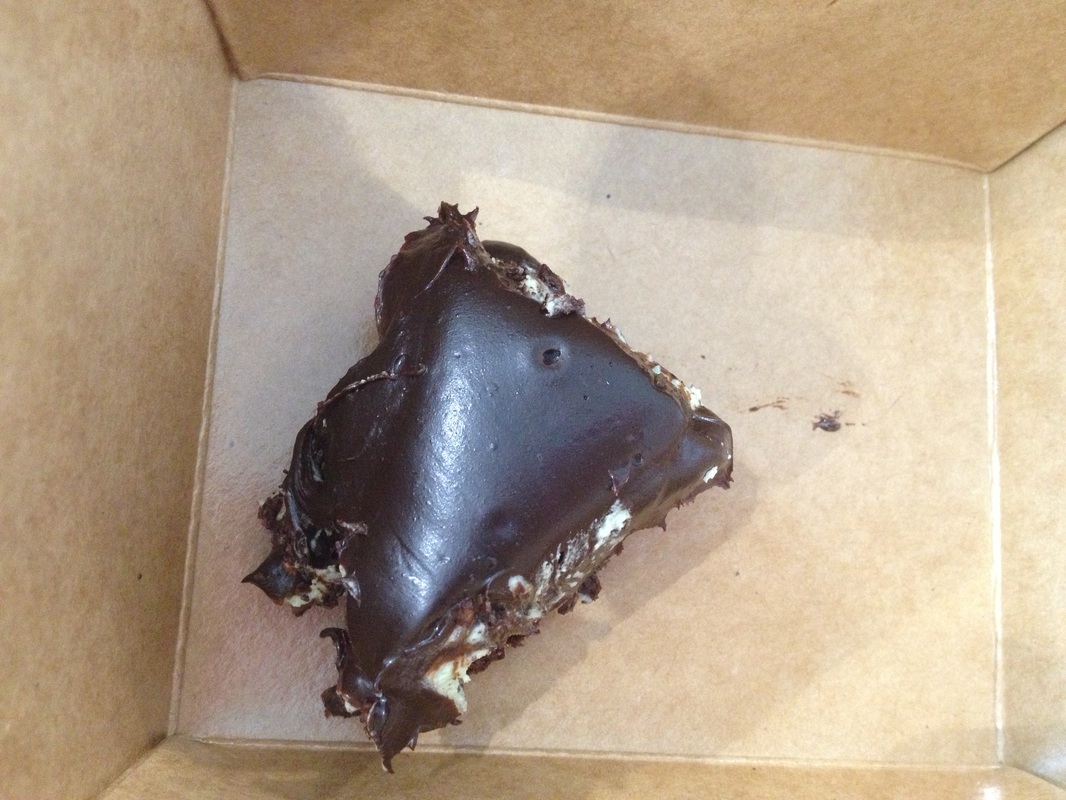
Not only have I just written the most honest blog post title yet, but I’ve also somehow made absolute MAGIC in the kitchen. And because I’m super generous (sui generis?), I’m sharing the recipe with you today. I really can’t get over how delicious these cashew butter cups are. Like I said, they have no business being so amazing, and while they also have no business being called ‘cashew butter cups’, it sounds a lot better and is easier to say that than ‘random protein powders and sneaky bean cups’ ewww I knowww but stay with me.
So yeah, these are sneaky aquafaba (no aquafaba used but I like saying aquafaba instead of ‘af’ because the latter looks like a typo and I am deliberate about my werds) healthy little treats. Sure, they are encased in chocolate and full of maple syrup but look at everything else! It’s basically oatmeal, and you can and should have these for breakfast. Start your day right! Who needs coffee?
I was inspired to make these because of several things. First of all, I realized I hadn’t made my amazing homemade peanut butter cups in like a year, and that’s not right. Second of all, I have a very-many-kilo tub of cashew butter I got super cheap recently and need to use before we set off on our upcoming long-term travel (more on that next week!). Third, I like chocolate-y desserts and especially nut buttery cups, but I also like getting a shittonne of protein because I like working out and being stronger than all the non-vegans at my gym (ALL OF EM) and according to my husband my upper back is getting scary so we gotta maintain that (#SoSwole #VegansWhoSwole #WhatDoesSwoleMean). So, like Joey with his hot girls on one hand and jam on the other, we’re gonna put those hands together and make chocolate nut buttery cups that happen to be full of protein and oats and nut butters and generally every food necessary for sick gains bro.
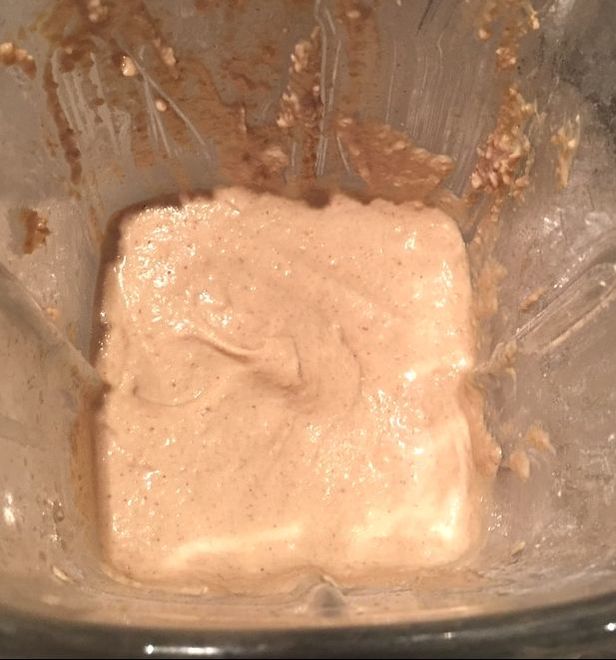
I got the idea to mainly use cashews and to add in oats (god I love oats and thank goodness for that considering they will compose roughly 1/3 of my diet this summer #trainlife) from The Loopy Whisk blog. I was originally going to adhere more closely to her recipe, but as always I cannot be controlled in the kitchen and I went nuts with other ingredients and the powders and randomness that all turned out wonderfully. Chaos is yummy. And with this sort of thing, you can be super flexible about your measurements and anything you’d like to personally add (or subtract) and it’ll most likely turn out great, especially when you cuppify it in chocolate. I am still so shocked at how amazing this filling is, though. It really tastes like mildy cashew buttery cookie dough! This makes a lot a lot of filling, which I am happy about because I made some tiny balls (hehe balls) of just the filling and froze them, so I have these little ice cream-y cookie dough balls that are really nutritious and perfect for warm weather snacking, especially in a land that doesn’t believe in air conditioning. Who needs AC when you have frozen mini cookie dough balls! You can also just melt more chocolate and use all the filling up making cups and cups and endless cups, if you have that many cupcake liners/Silpat mats/time units. Or you can just halve the filling recipe like a CHUMP but there are no chumps reading this blog so enjoy the extra however you please.
PROTEIN-PACKED CASHEW BUTTER CUPS
Ingredients
For the filling:
For the filling:
- 3/4 cup cashew butter
- 1/3 cup peanut butter
- 1 overflowing cup chickpeas (what other kind of cup of chickpeas IS there am I right)
- 2/3 cup oats
- 2/3 cup brown rice protein powder
- 1/3 cup pea protein powder
- 1 tablespoon ground flax seed
- 1/4 cup coconut oil, melted
- 1/3 cup maple syrup
- 2 tsp vanilla extract
- 1/2 teaspoon salt
- 1/3 cup unsweetened almond milk – be flexible with the amount if like me you have to use a blender (more on that below) and also you know what, if you have a sweetened and/or flavored milk, just go nuts and use it we are making a sweet thang after all you get down with your bad self!
For the chocolate:
- 1 cup chocolate chips
- 2 tablespoons coconut oil
- Flaked sea salt for dusting if you roll like that and don’t have high blood presh
|
Directions
|
Yay we did it! Aren’t they soo good? I am so excited about these and I hope you like them. Enjoy!


